Azure , C# , dynamics-crm , powerplatform
Exploration: Create Swagger API and Consume It In Canvas-Apps

Today we will learn how to create Swagger API > deploy it to Azure (App Service) > make a custom connector > and use it in Canvas Apps. Without further ado, let's make it!
Create API
First, we need to open your CMD line, then set the CMD (using the CD command) to the directory where you want to create the folder. Once you are already in the folder that you want it, run the below command (you need to have dotnetinstalled):
dotnet new webapi -o BlogApi
By default, the CLI will help you to generate WeatherController. I will remove all the things that are related to the WeatherController and make the below Controller:
using Microsoft.AspNetCore.Mvc;

namespace BlogApi.Controllers;

public class Todo
{
    public Guid Id { get; init; } = Guid.NewGuid();
    public string? Name { get; set; }
    public string? Description { get; set; }
    public bool IsCompleted { get; set; }
}

[ApiController]
[Route("[controller]")]
public class ToDoController : ControllerBase
{
    private static readonly List<Todo> Todos = new[]
    {
        new Todo { Name = "Task 1"},
        new Todo { Name = "Task 2"},
        new Todo{ Name = "Task 3"}
    }.ToList();

    private readonly ILogger<ToDoController> _logger;

    public ToDoController(ILogger<ToDoController> logger)
    {
        _logger = logger;
    }

    [HttpGet("/ToDo/GetAll")]
    public Todo[] Get()
    {
        return Todos.ToArray();
    }

    [HttpGet("/ToDo/Get/{id}")]
    public Todo? GetById(Guid id)
    {
        return Todos.FirstOrDefault(x => x.Id == id);
    }

    [HttpPost("/ToDo/Create")]
    public void Create(Todo todo)
    {
        Todos.Add(todo);
    }

    [HttpPost("/ToDo/Update/{id}")]
    public bool Update(Guid id, Todo todo)
    {
        var found = false;
        foreach (var item in Todos)
        {
            if (item.Id != id) continue;

            item.Name = todo.Name;
            item.Description = todo.Description;
            item.IsCompleted = todo.IsCompleted;

            found = true;
        }

        return found;
    }

    [HttpDelete("/ToDo/Delete/{id}")]
    public void Delete(Guid id)
    {
        var todo = Todos.FirstOrDefault(x => x.Id == id);
        if (todo == null) return;

        Todos.Remove(todo);
    }
}
Then you need to update the Program.cs:
using Microsoft.OpenApi.Models;

var builder = WebApplication.CreateBuilder(args);

// Add services to the container.

builder.Services.AddControllers();
builder.Services.AddSwaggerGen(c =>
{
    c.SwaggerDoc("v1", new() { Title = "BlogApi", Version = "v1" });
});

var app = builder.Build();

app.UseSwagger(c => c.SerializeAsV2 = true);
app.UseSwaggerUI(c => c.SwaggerEndpoint("/swagger/v1/swagger.json", "BlogApi v1"));

app.UseHttpsRedirection();

app.UseAuthorization();

app.MapControllers();

app.Run();
Once all of this is settled, we can try it in our local and publish it.
Publish The API
From Visual Studio > Project > right-click > Publish:
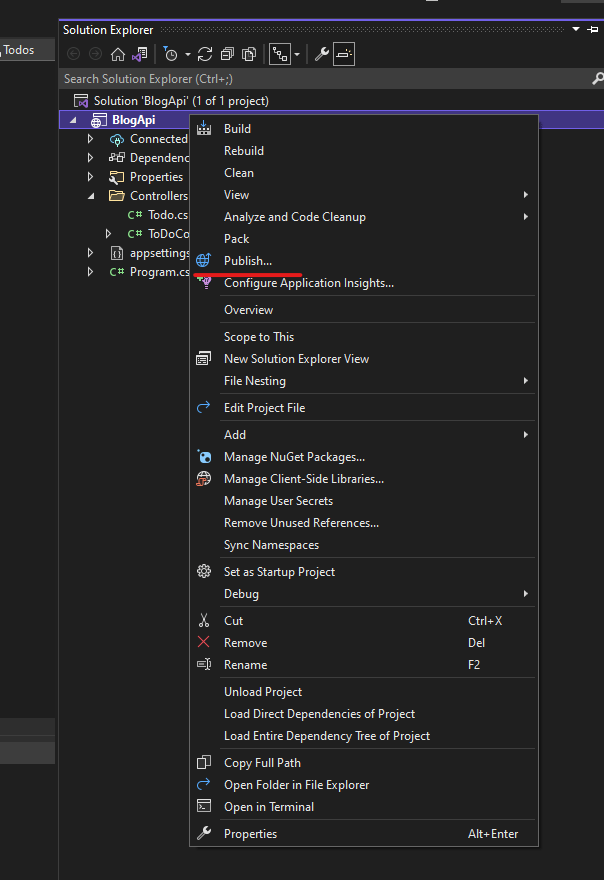 Right click the Project > Publish
First, you will be asked where you want to publish it. Because we will publish the API in the Azure API Service, you need to have the account. Then you can select "Azure" as our Target:
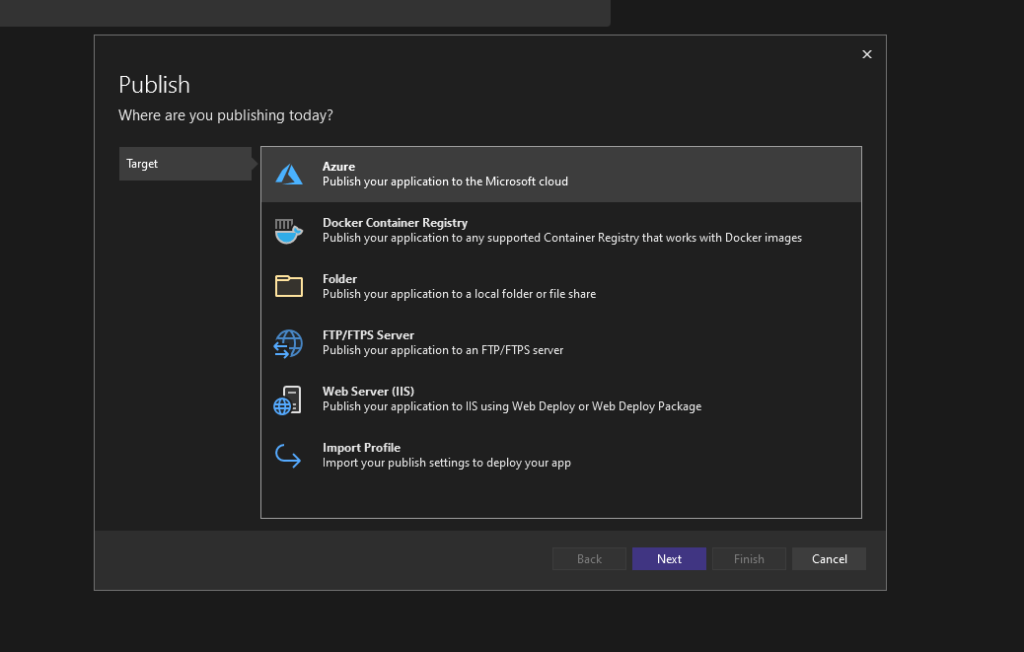 Select Azure
You will be asked to select your specific target and you need to choose "Azure App Service (Windows)":
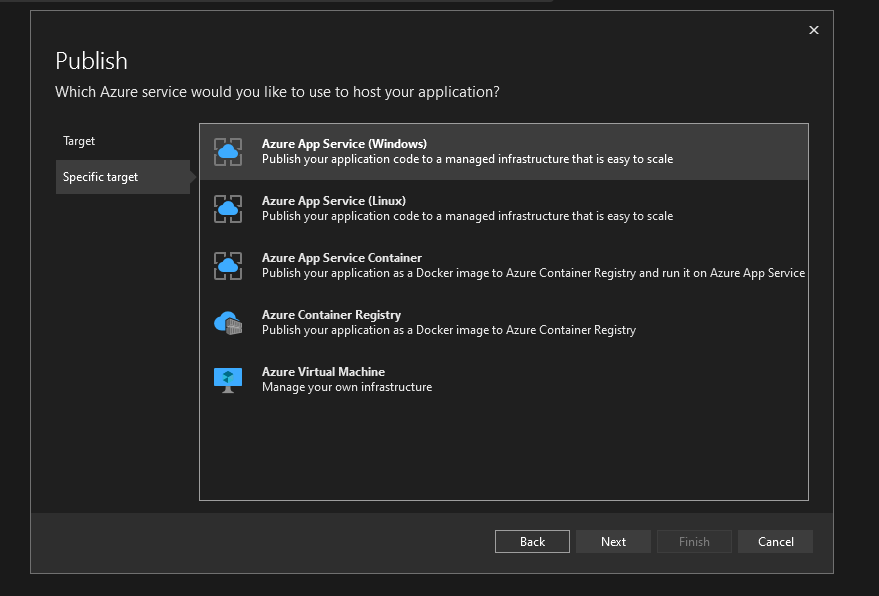 Select Azure App Service (Windows)
In the next dialog, make sure you select your correct Azure Account (if not, you can login to your Azure there) > you can create the App Service > create a name for the App Service > select Subscription name > select the Resource Group (or create it) > select theHosting Plan > create:
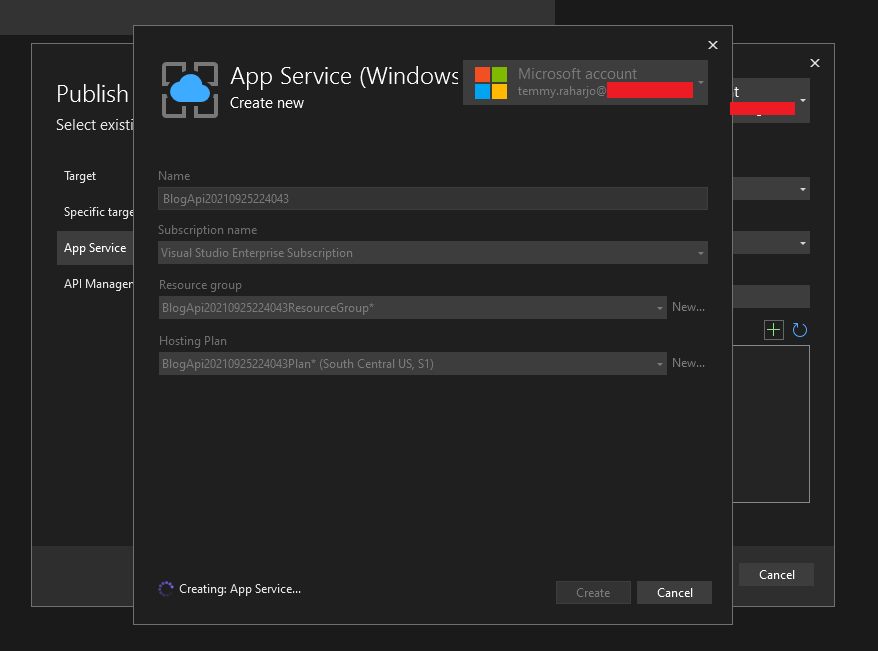 Create API Service
On the App Servicedialog, you need to confirm what is the Azure Components that will be used:
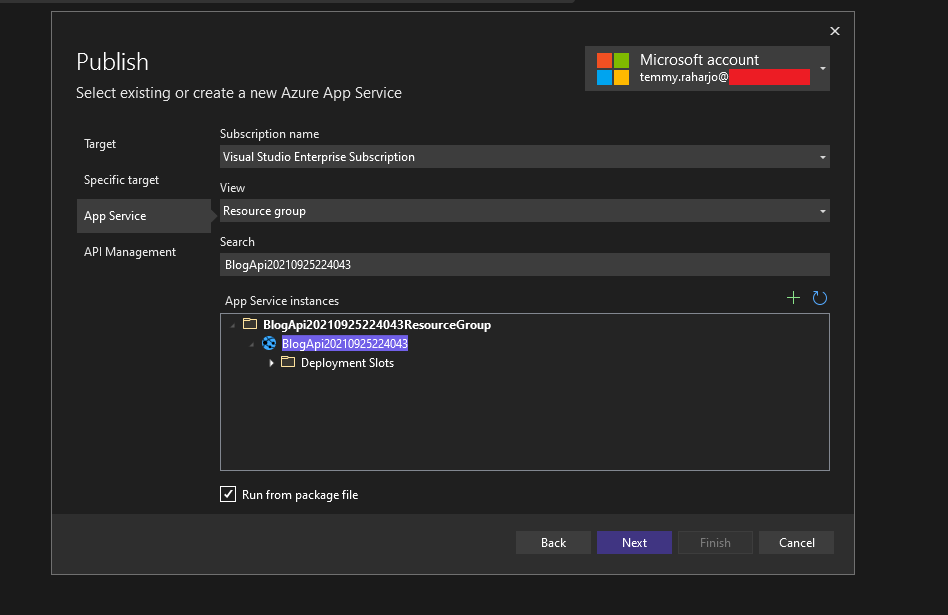 Confirmation Dialog
In the next part, you can create API Management to make your API more secure. But for this demonstration, I'll skip this part and click the Finishbutton instead:
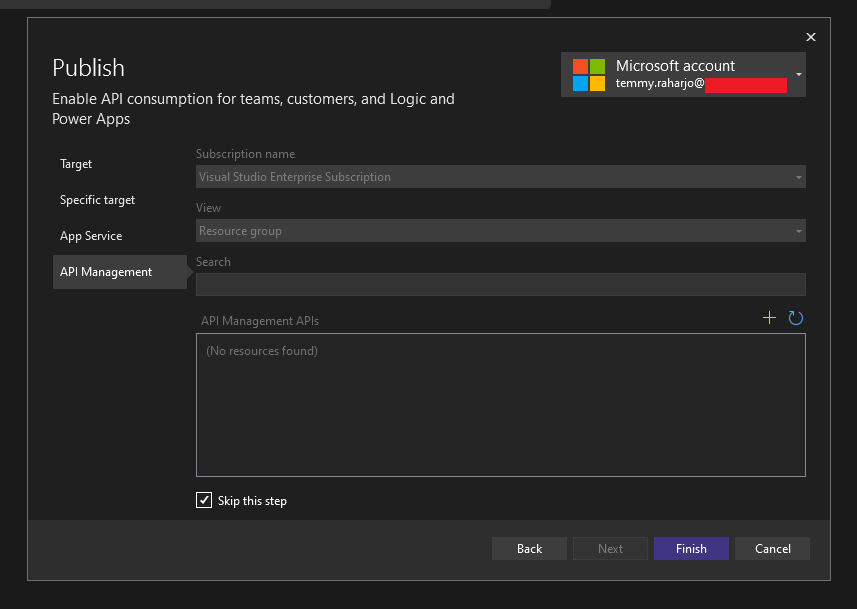 You can Add API Management to hardening the security of you App Service
Once the API Service is ready, you can navigate to the generated URL and go to <api-service-url>/swagger/index.html and you will see this:
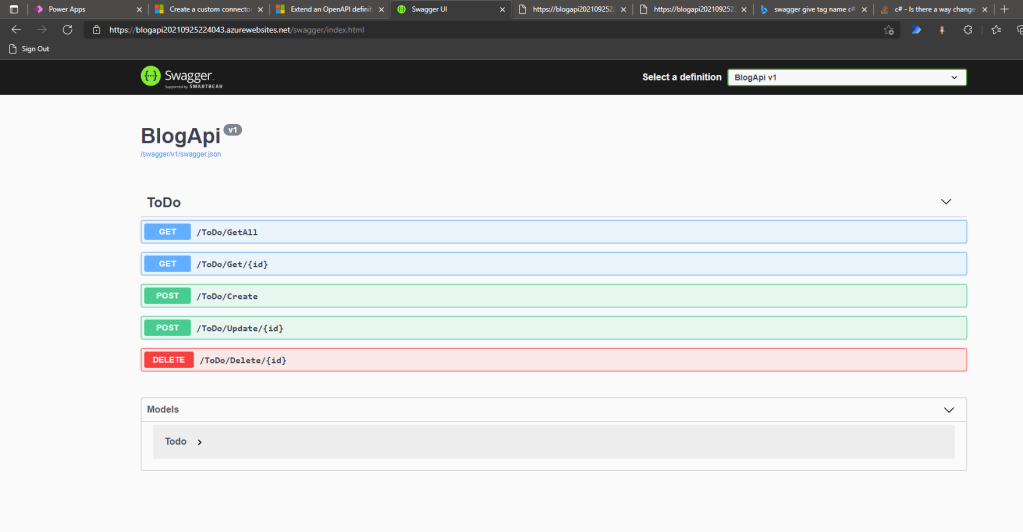 Swagger API is ready to be tested
You need to go to <api-service-url>/swagger/v1/swagger.json:
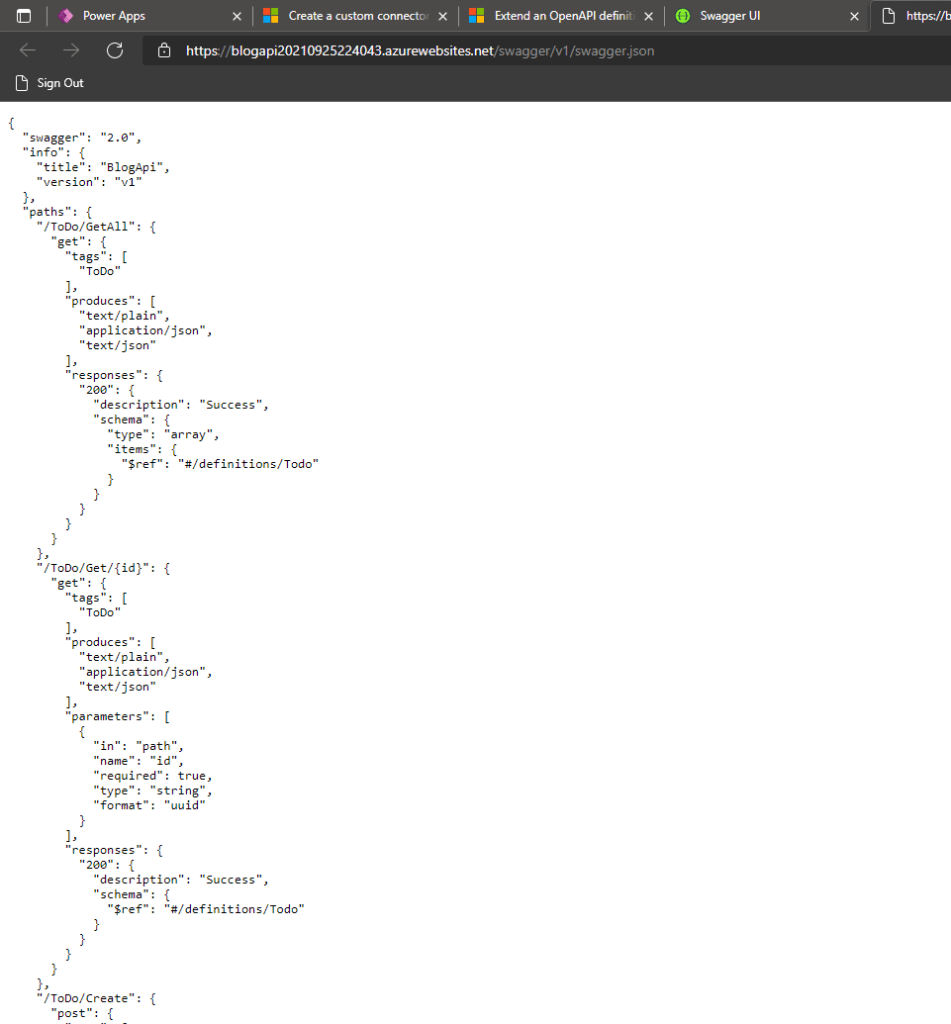 Swagger metadata
After the page is opened, you can press ctrl+save to download the swagger.json to be used in the next step.
With this, our API is ready!
Create Custom Connector In PowerApps
You need to go to Dataverse blade > Custom Connectors > New custom connector > Import an OpenAPI file:
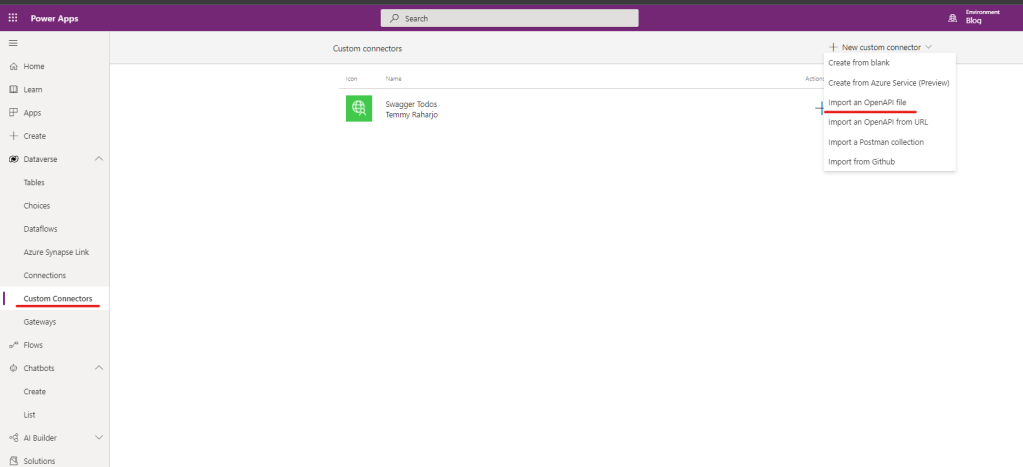 Create Custom connectors
Once you click that one, you need to name your Connector name (I named it Swagger Todos) and select the swagger.json file that you download earlier. Then you can press the Continuebutton:
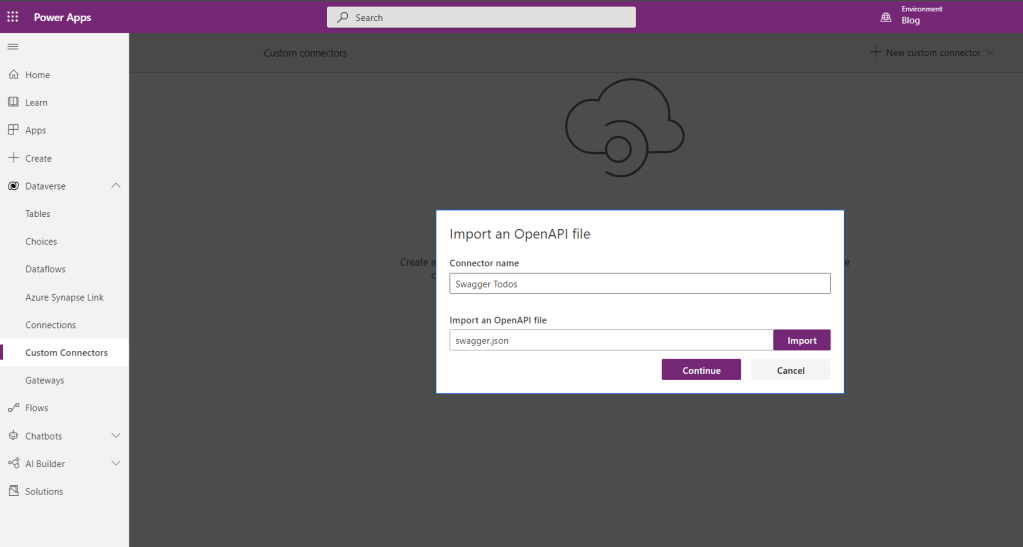 Create our custom connector
On the General Information tab, you need to define the Scheme, ***Host,***and Base URL. Here is my setup:
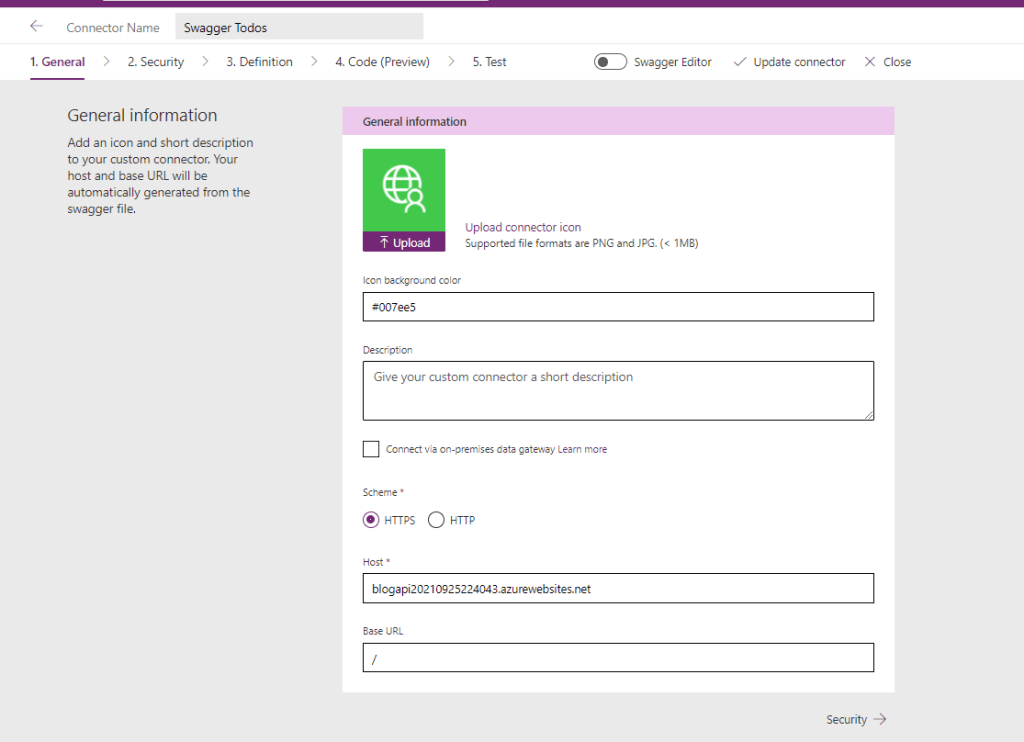 General information setup
For the Security part, because I don't add anything (you should add something when you deploy it to production for hardening your security!), you can set it as No authentication.
On Definition, you need to define the Summary, Description, and Operation IDfor each of the actions. I named it based on the action that I define in the API (GetAll, Get, Create, Update, and Delete):
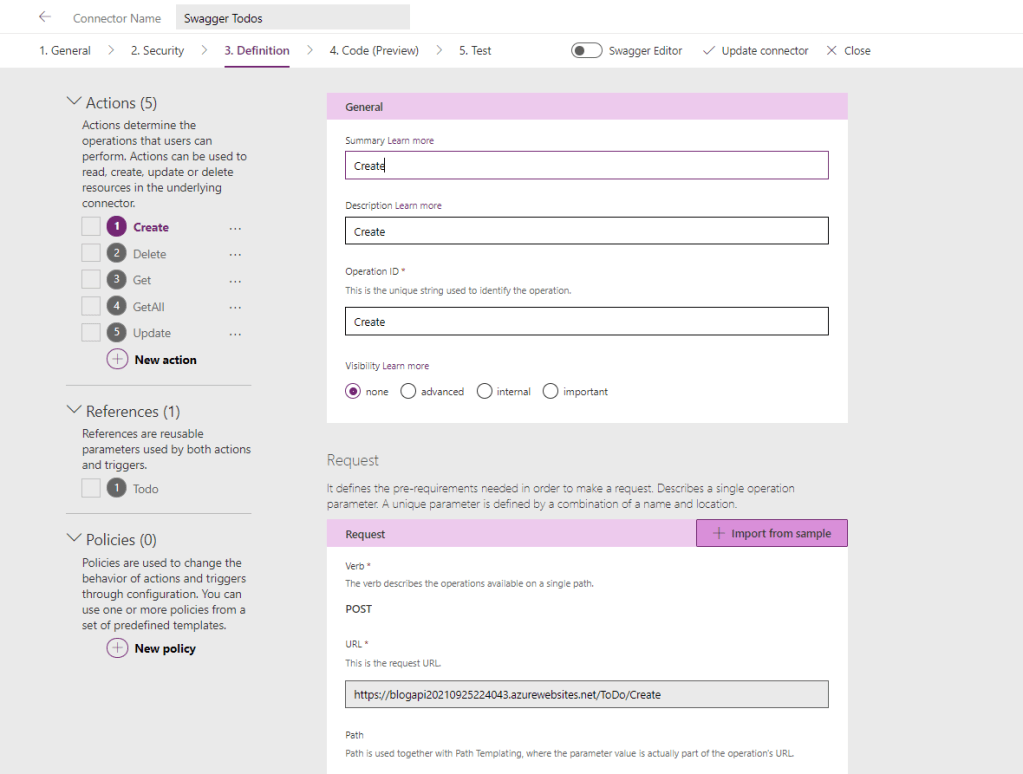 Set the Summary, Description, and Operation Id for each Actions
We can skip the Code (Preview) tab. Once we skip this, the system will automatically create a Connectionfor us. Then we can go back to our Custom Connectorand Test it:
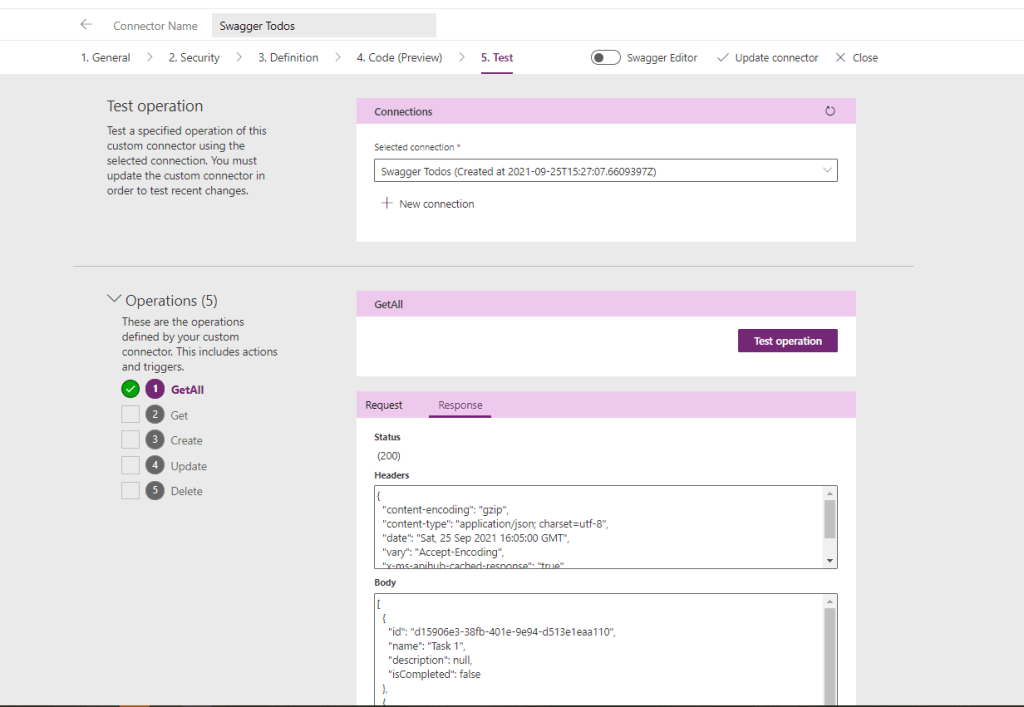 Testing our API
With this, our Custom Connector is ready!
Create Canvas Apps And Test 1 Action
The next step is we can go to Appsblade > New App > Canvas Apps from blank> give a namefor the app > click the Createbutton:
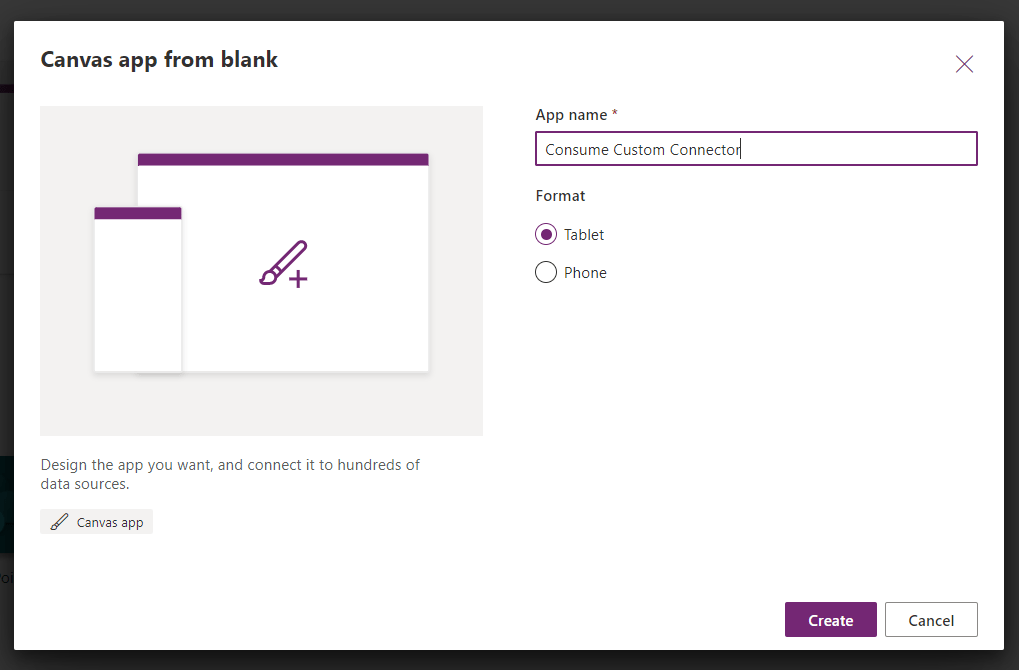 Create the App
Once the app is created, we can go to Datablade > Add data > search your Custom Connectorname (Todos) > then click the Connector(the system will add the Connectorto the App):
 Add Custom Connector to the App
Once we got this Connector added, we can use it already. I add a Table (Preview) component and 1 button.
On the Button.Select, this is my code:
Set(TableApi, BlogApi.GetAll())
Then on the Table.Items, I bind the variable I created earlier:
TableApi
After that you can define the columns that you want to show and here is the final result:
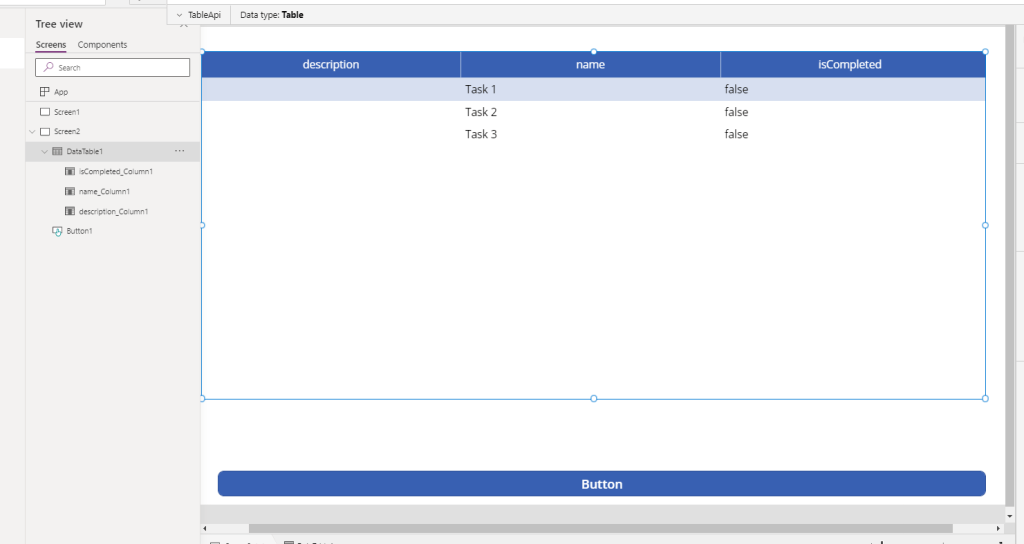 The result
Happy trying!
Leave a comment
Your comment is sent privately to the author and isn't published on the site.