dynamics-crm , powerplatform , tips
Dataverse: Export-Import Solution for Virtual Table

Still talking about the Virtual Table (Entity). Last week, we learned how to configure the Virtual Table (Entity) that reflects data from SQL DB (which you can learn here). Today, we will learn how to prepare the solution for export and import it to other environments!
Prepare Target Database
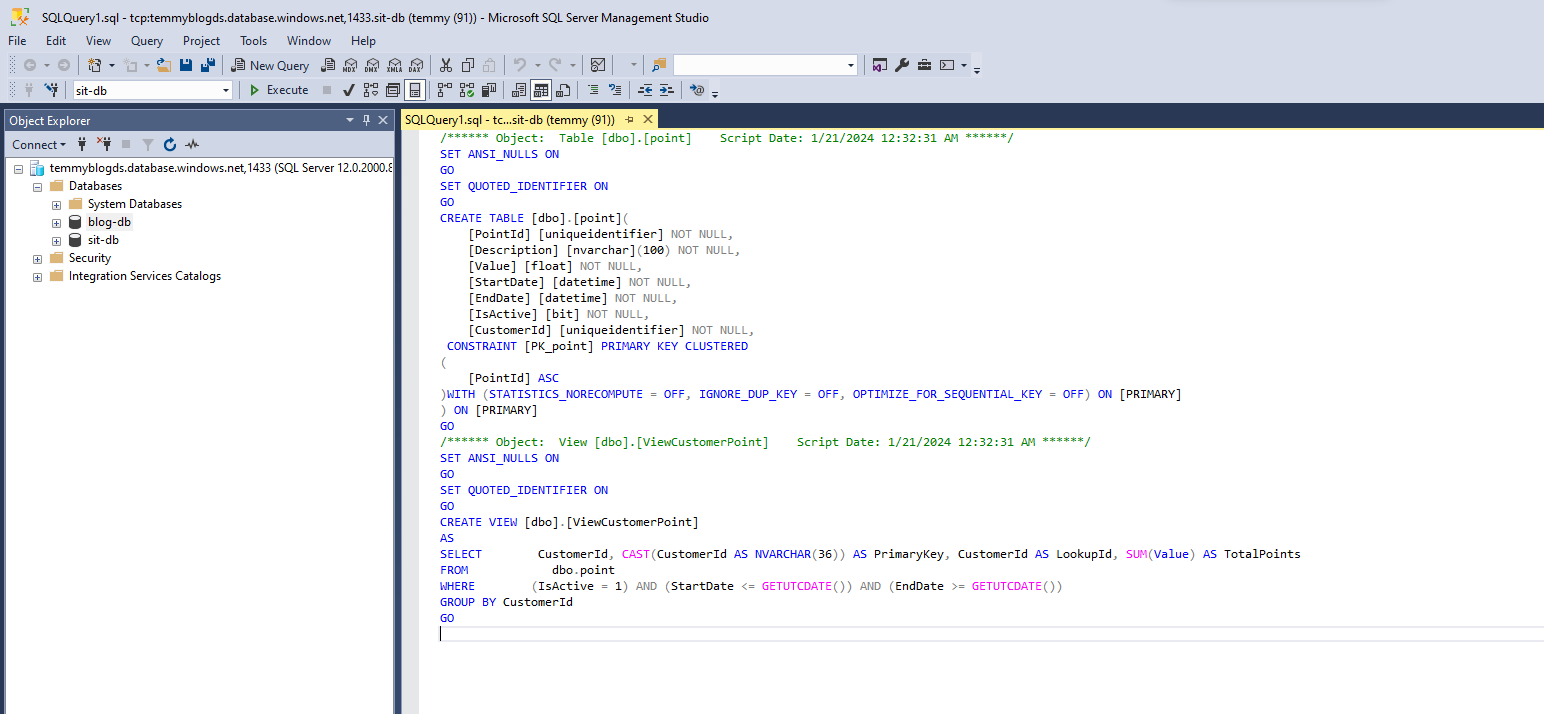
First, on the SSMS > connected to your Dev DB > right-click on the DB > Generate Scripts.. > follow the instructions and select the objects that you want to generate (I select my two objects: Table and View) > As the objects are minimum, I select the generate scripts to new query window:

Then, I also created a new Azure SQL DB, and ran the scripts generated above into the new DB:
Prepare Dataverse Solution
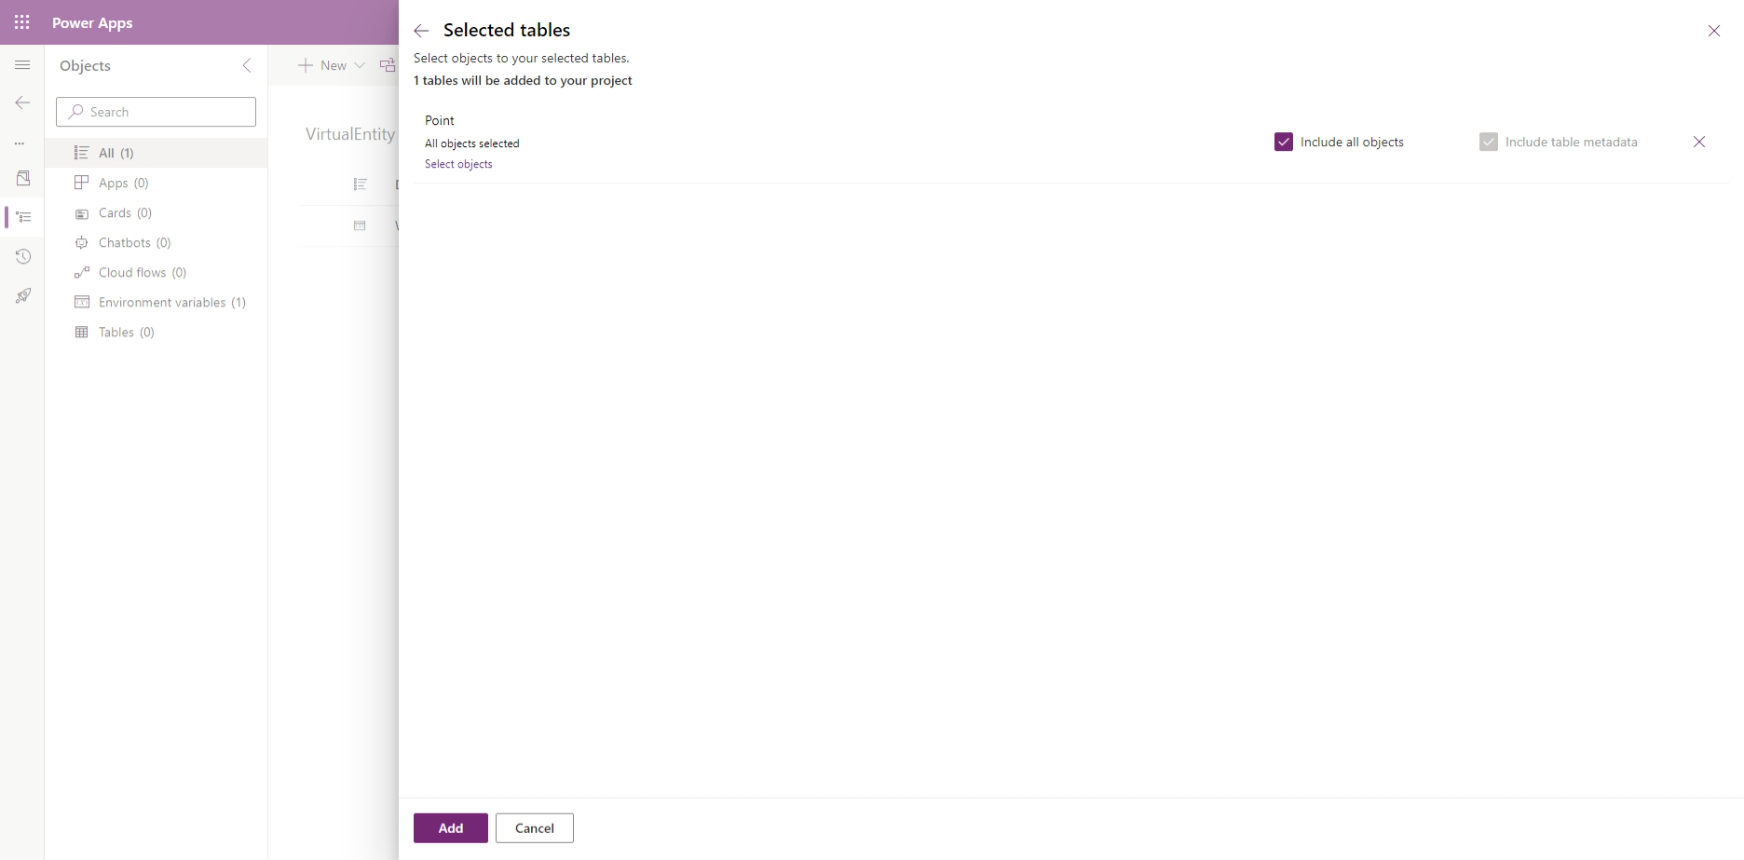
You can create a new solution and start to add your existing Virtual Table(s). Don't forget to select "Include all objects" for all the tables:
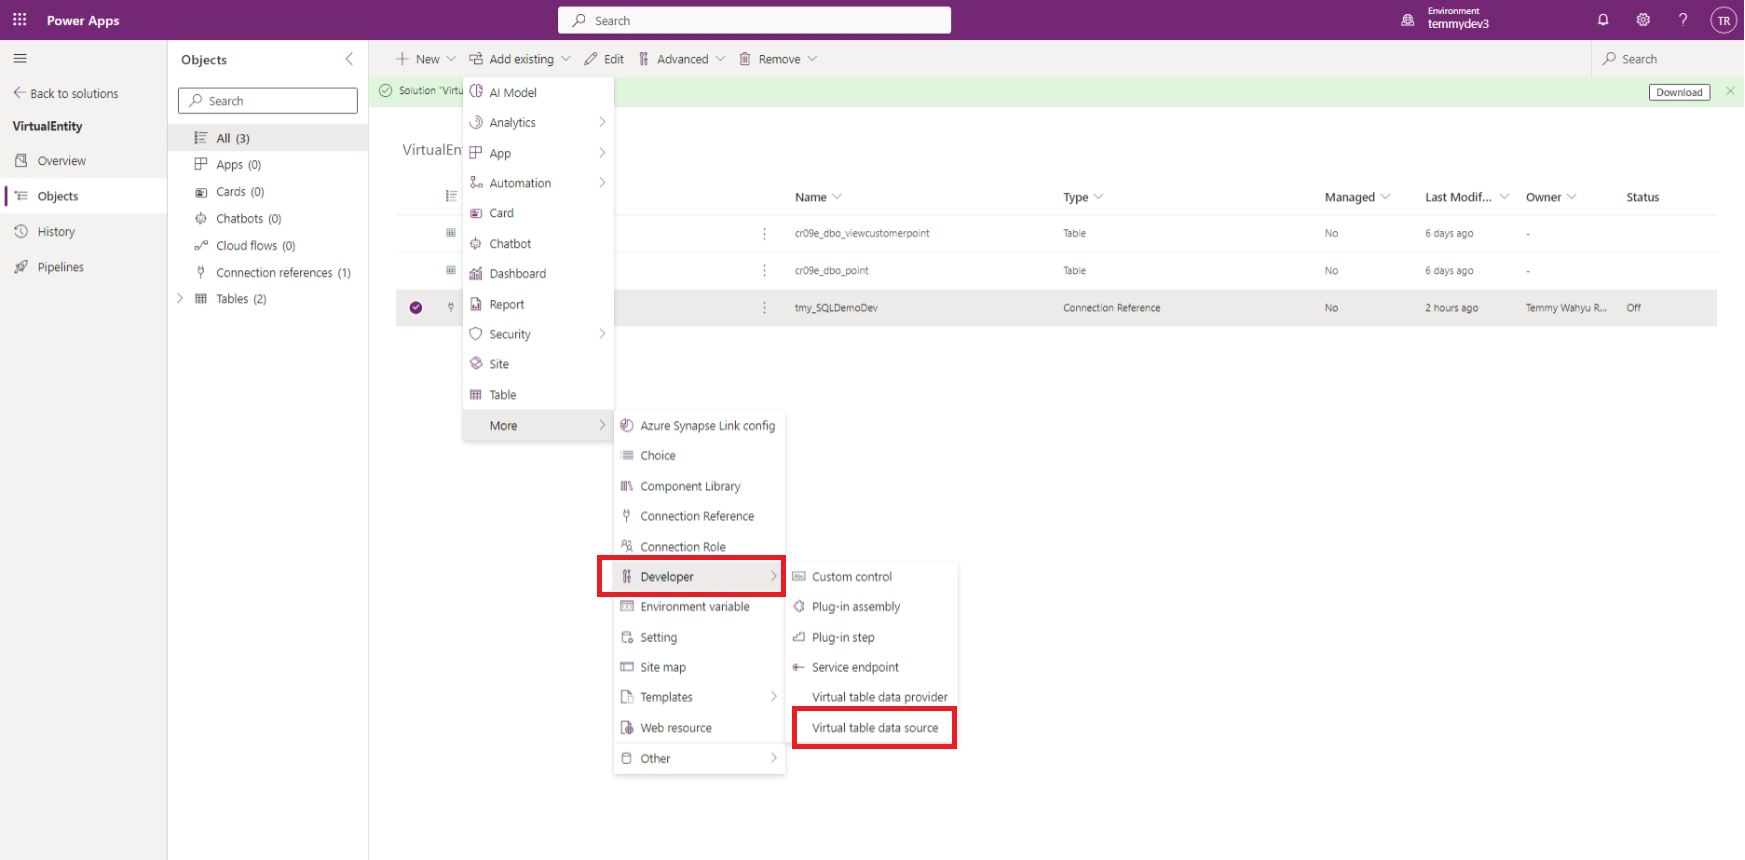
Again, you can "Add existing" > More > Developer > "Virtual table data source" and choose the one you created earlier:
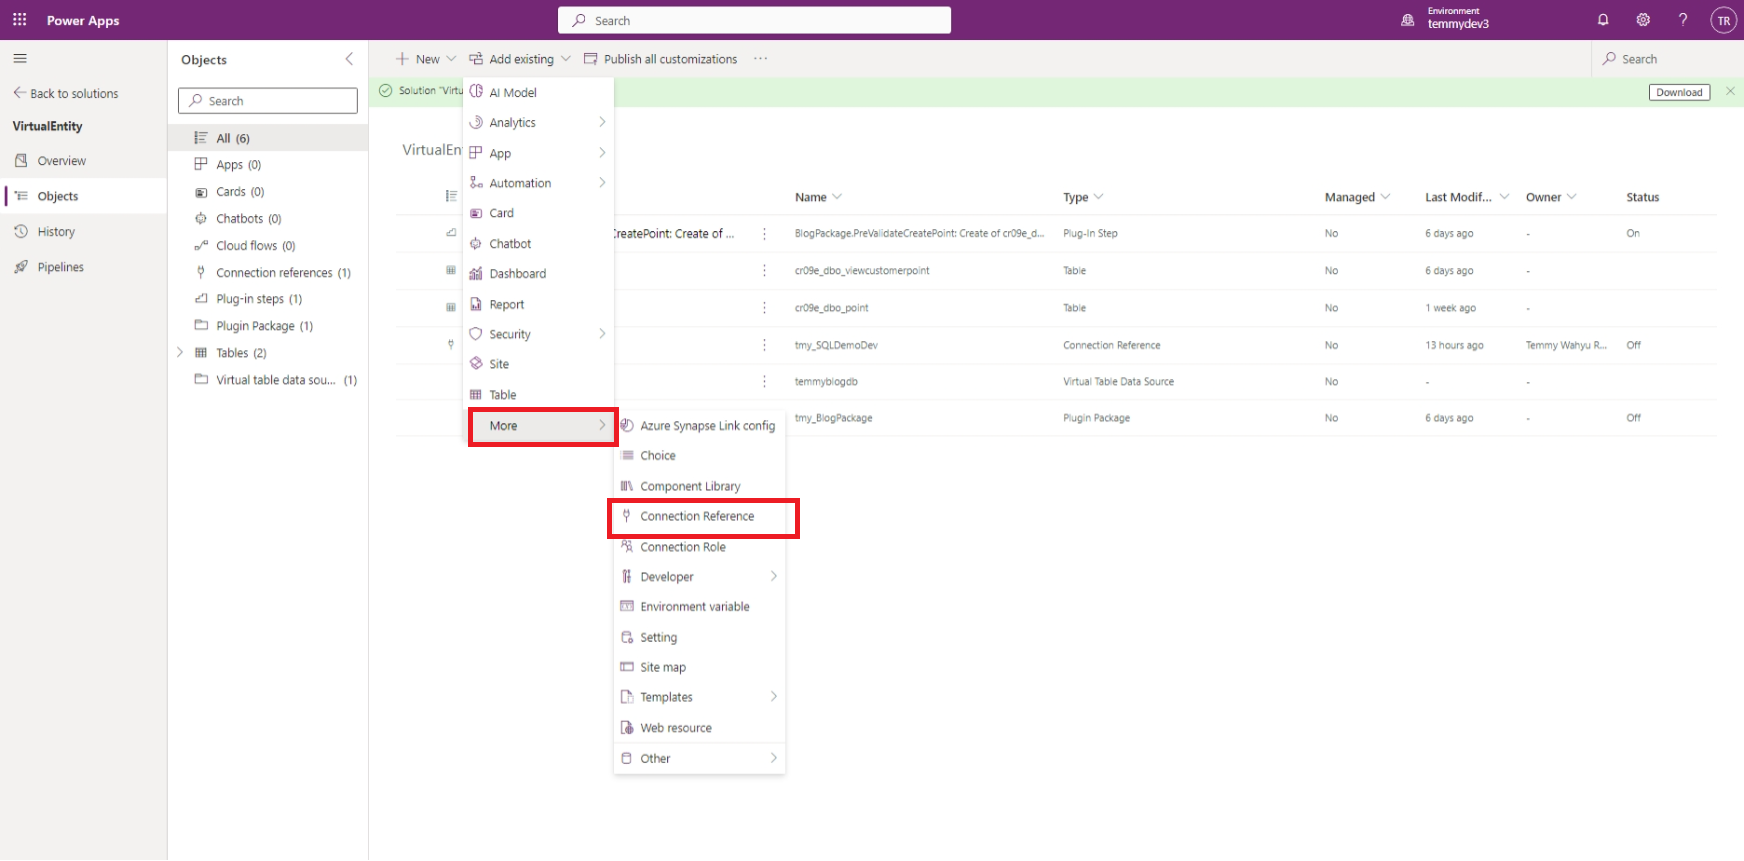
Add your Connection Reference with "Add existing" > More > "Connection Reference" and select your SQL Connection Reference:
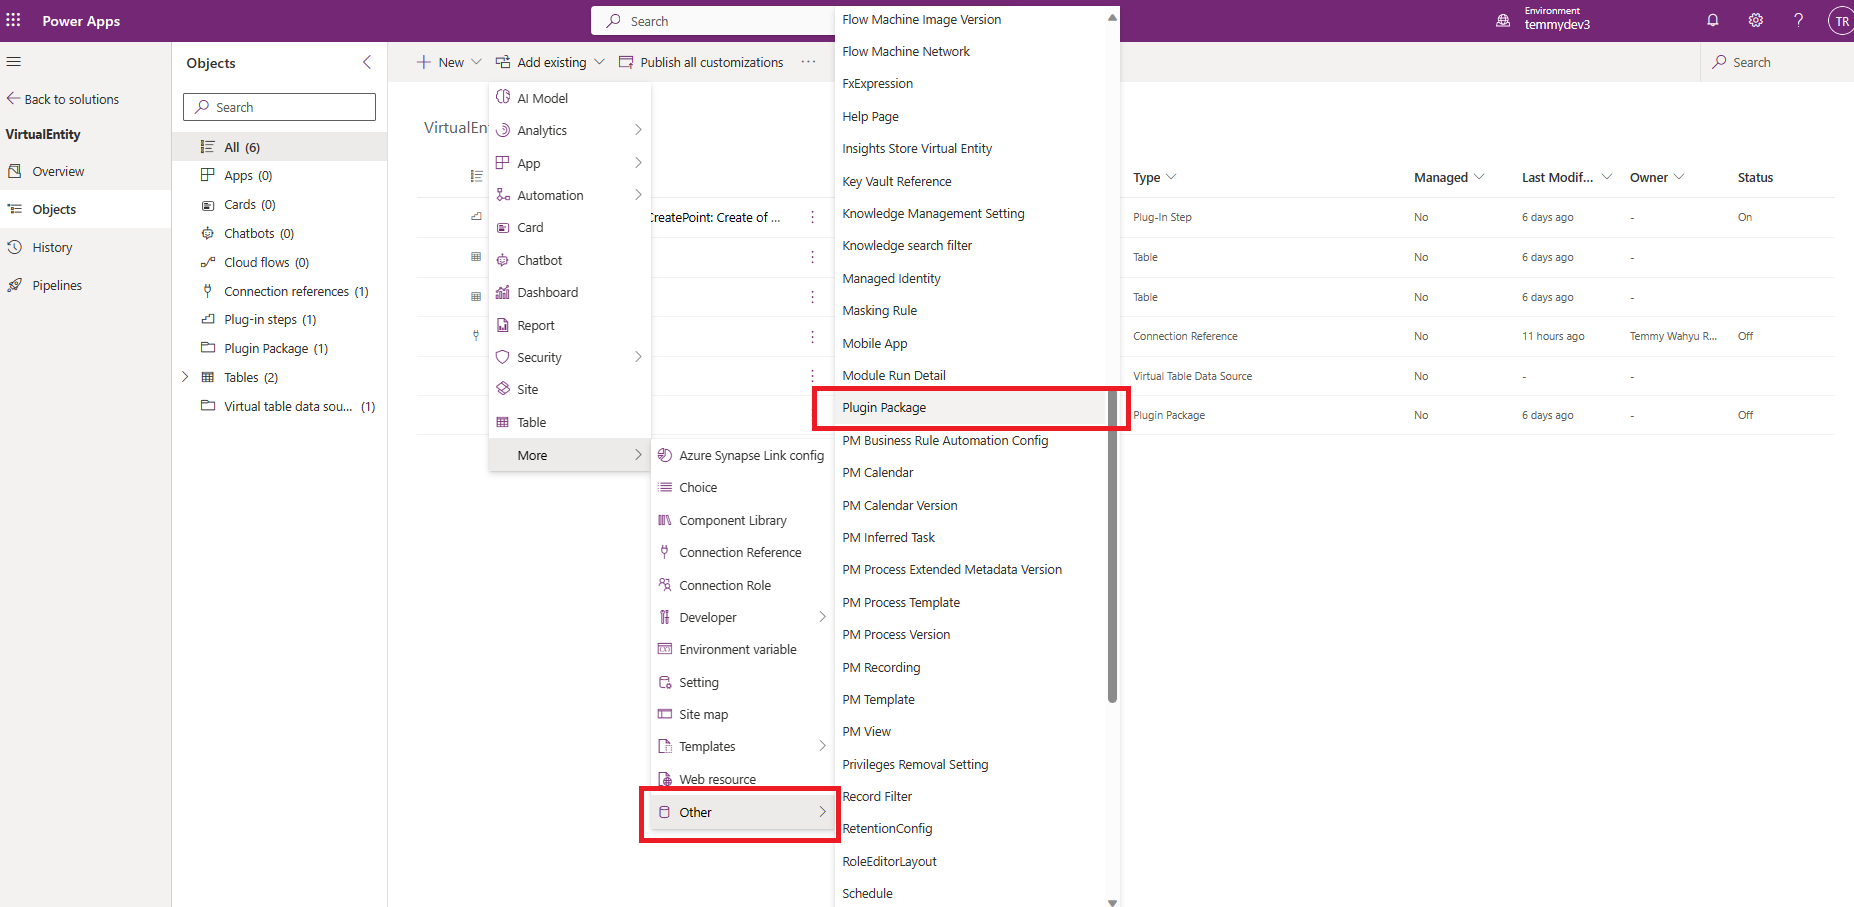
Last week, I created business logic using a plugin. So, in this solution, I also need to add my Plugin Package (and plugin step as well). Go to "Add existing" > More > Other > Plugin Package:
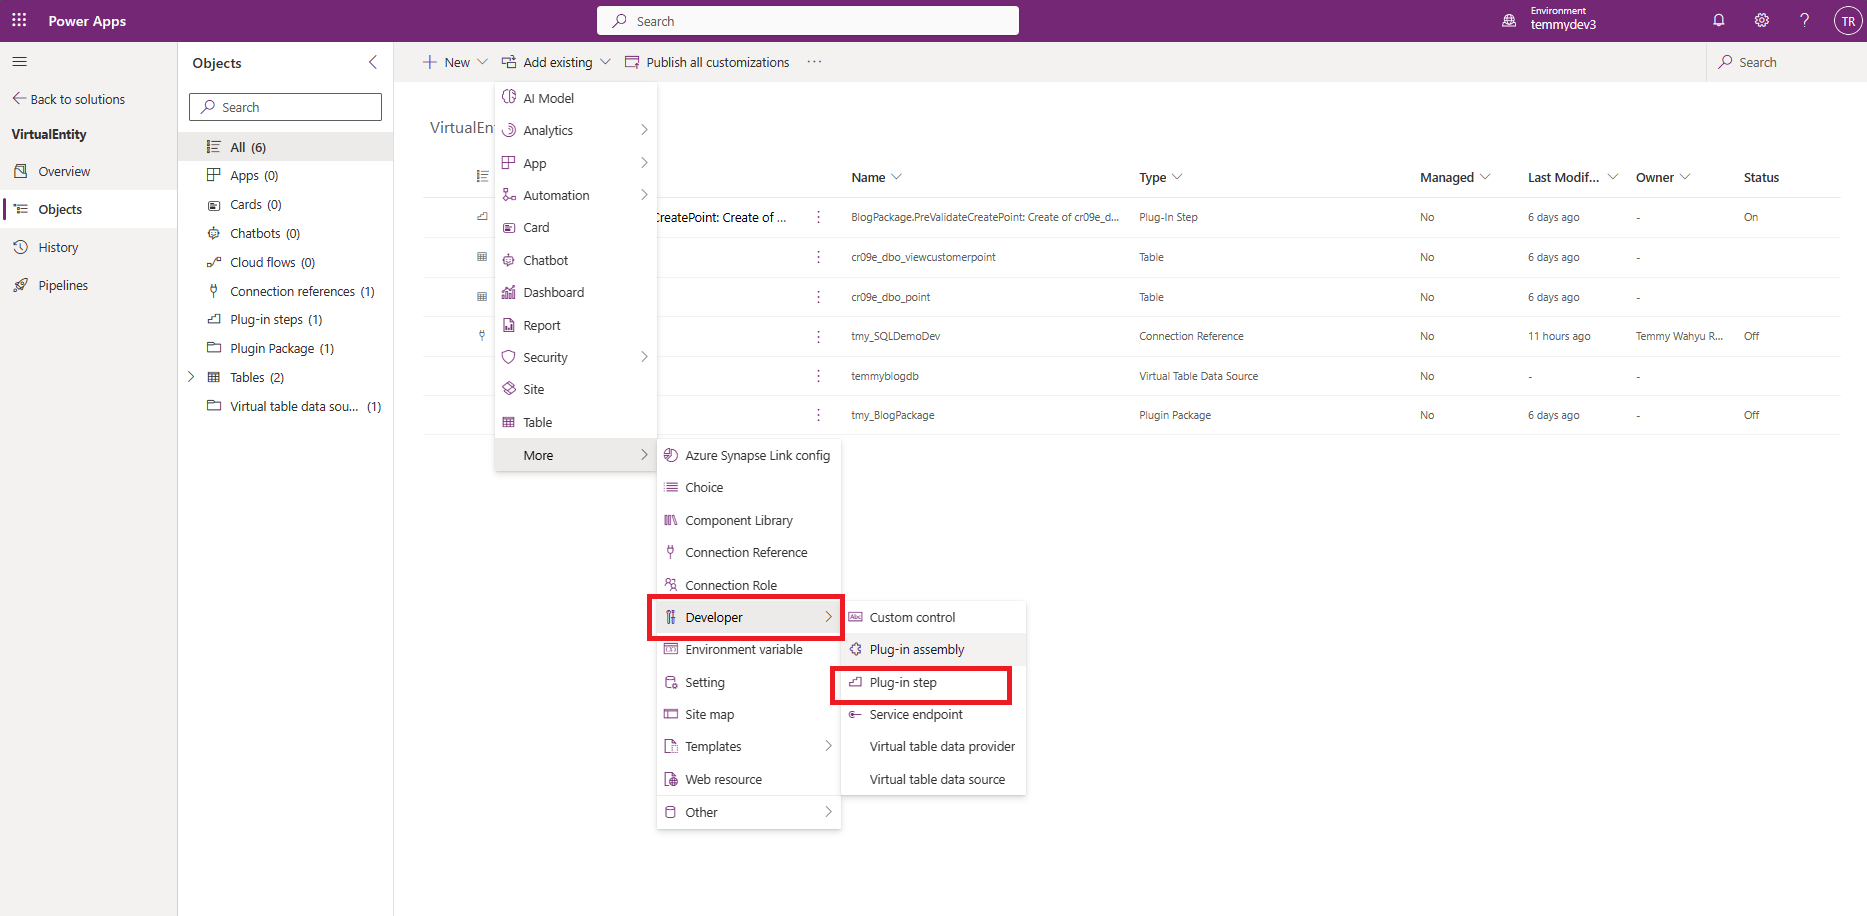
Last, I added the Plugin Step. Click on "Add existing" > More > Developer > Plug-in step:
Once you have done the above step. The solution is ready to be exported!
Solution Import
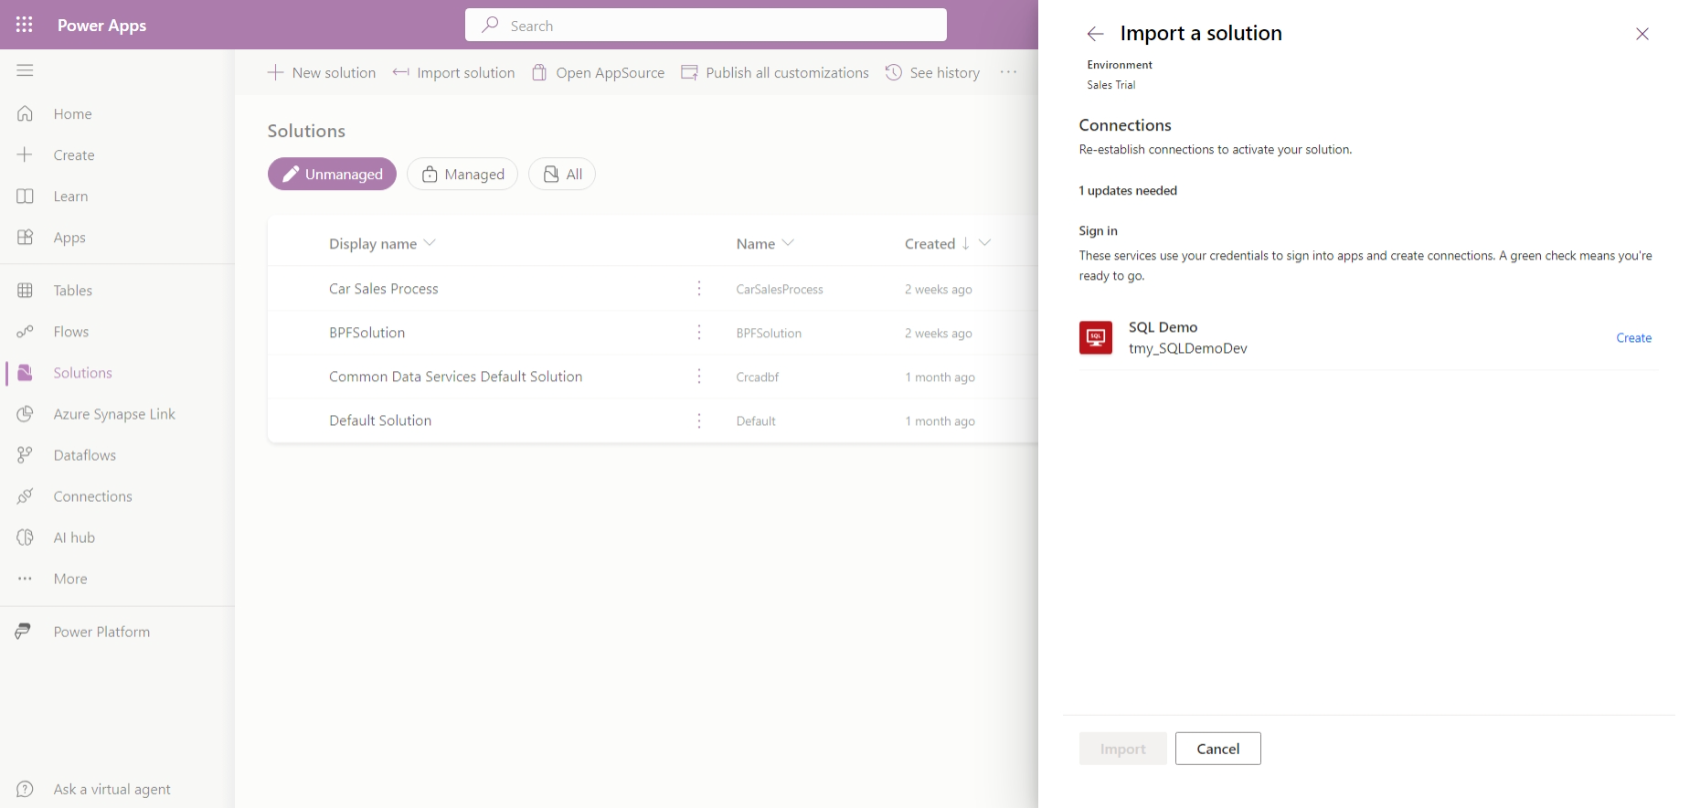
To import the solution, go to make.powerapps.com > make sure to select your target environment > On Solutions blade > click the "Import solution" button and select the solution zip from the previous part. Once you click import, it will ask you to create the connection like the below screenshot:
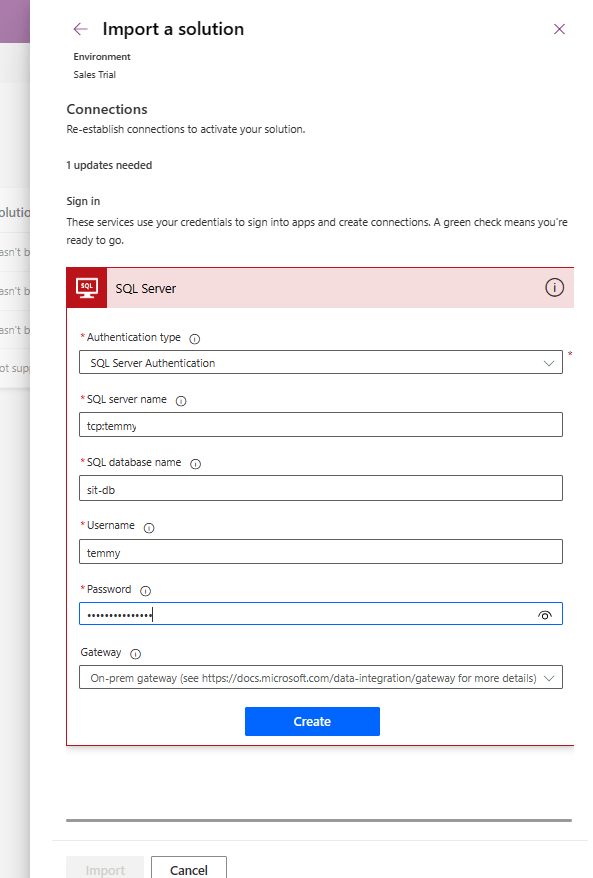
When you click "Create", it will open a new dialog where you can fill in the Authentication type and other things. Because I'm using "SQL Server Authentication", I need to fill in the SQL server name (remember to use string format like "tcp:.database.windows.net"), SQL database name, Username, and also Password.
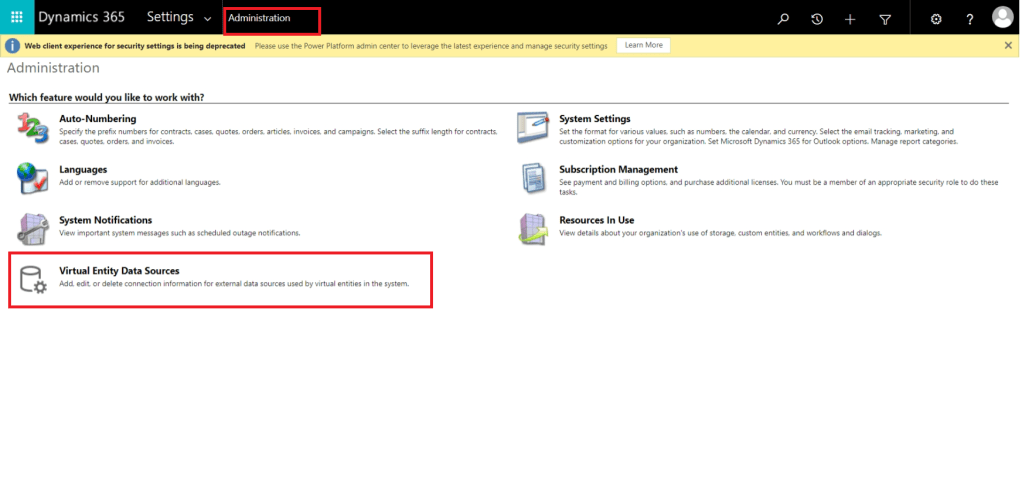
Up until this point, you suppose can import the solution already (in the target environment). Once you have done that part, you need to update the "Virtual Connector Data Source" to match your new SQL DB. So, you need to go to "Advanced Settings" > Administration > Virtual Entity Data Sources:
Select your SQL DB data source. On "Dataset Value" you will notice the value still using the Dev value. So, you need to update this to your environment value (again, if you are confused about how to set this Dataset value, you can always refer to this forum):
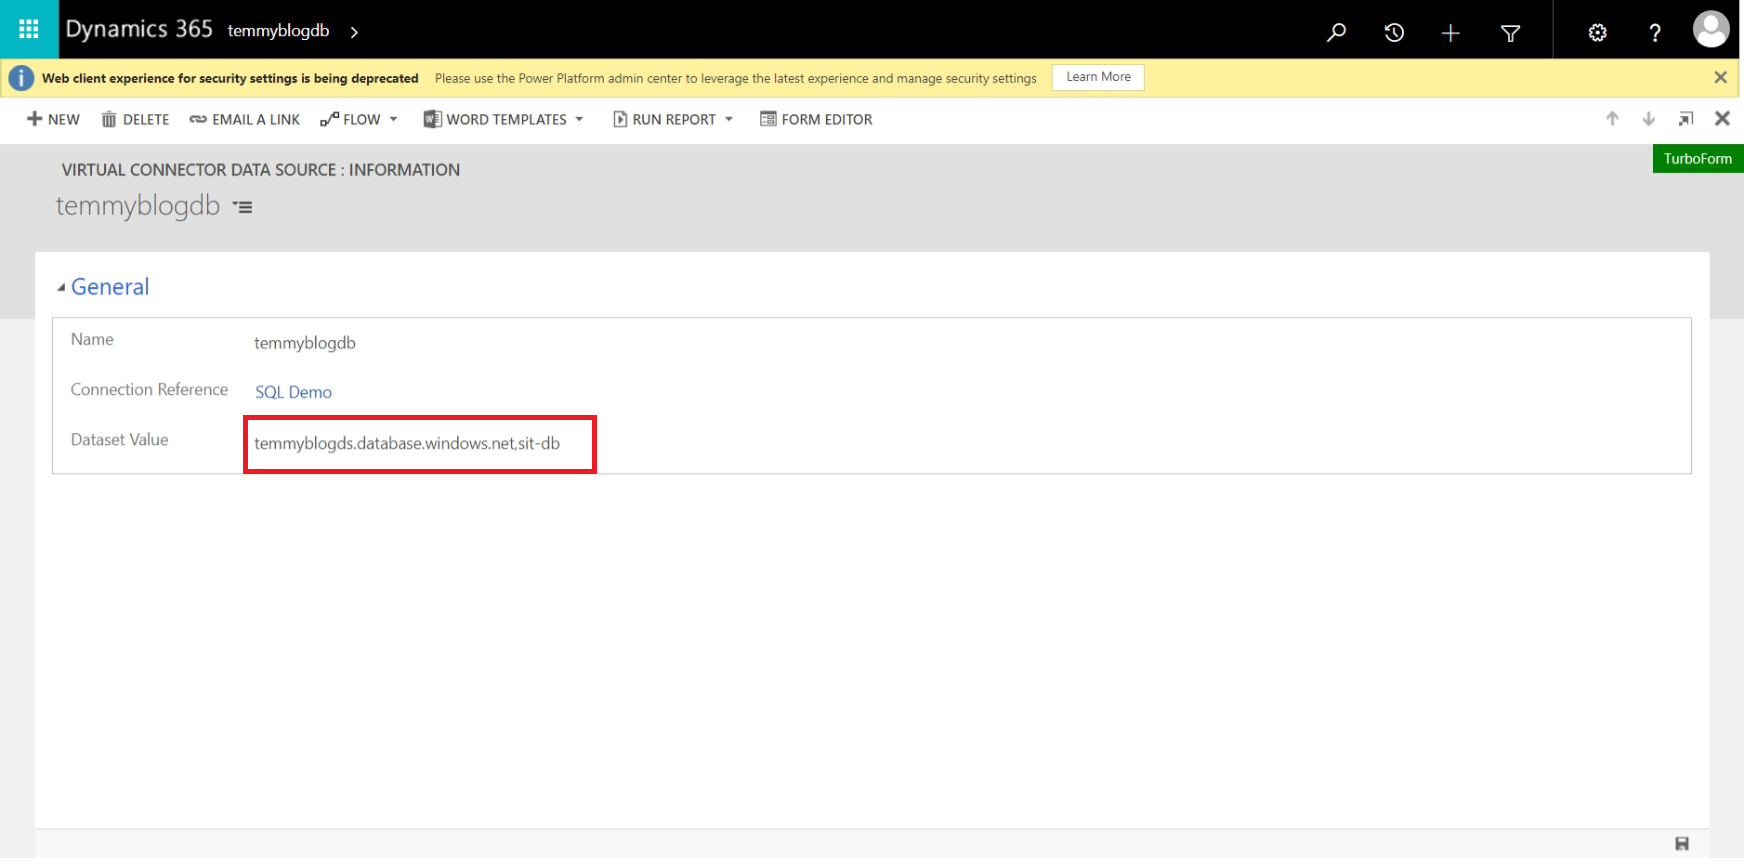
Once you fix the Dataset Value, you can save the record and start testing the Virtual Table. Please note that if you are importing the solution again, the Dataset Value will revert back to the original (Dev) value. So, at some point probably you need to remove this component in your solution (if ever you need to update it) or you need to update it manually again.
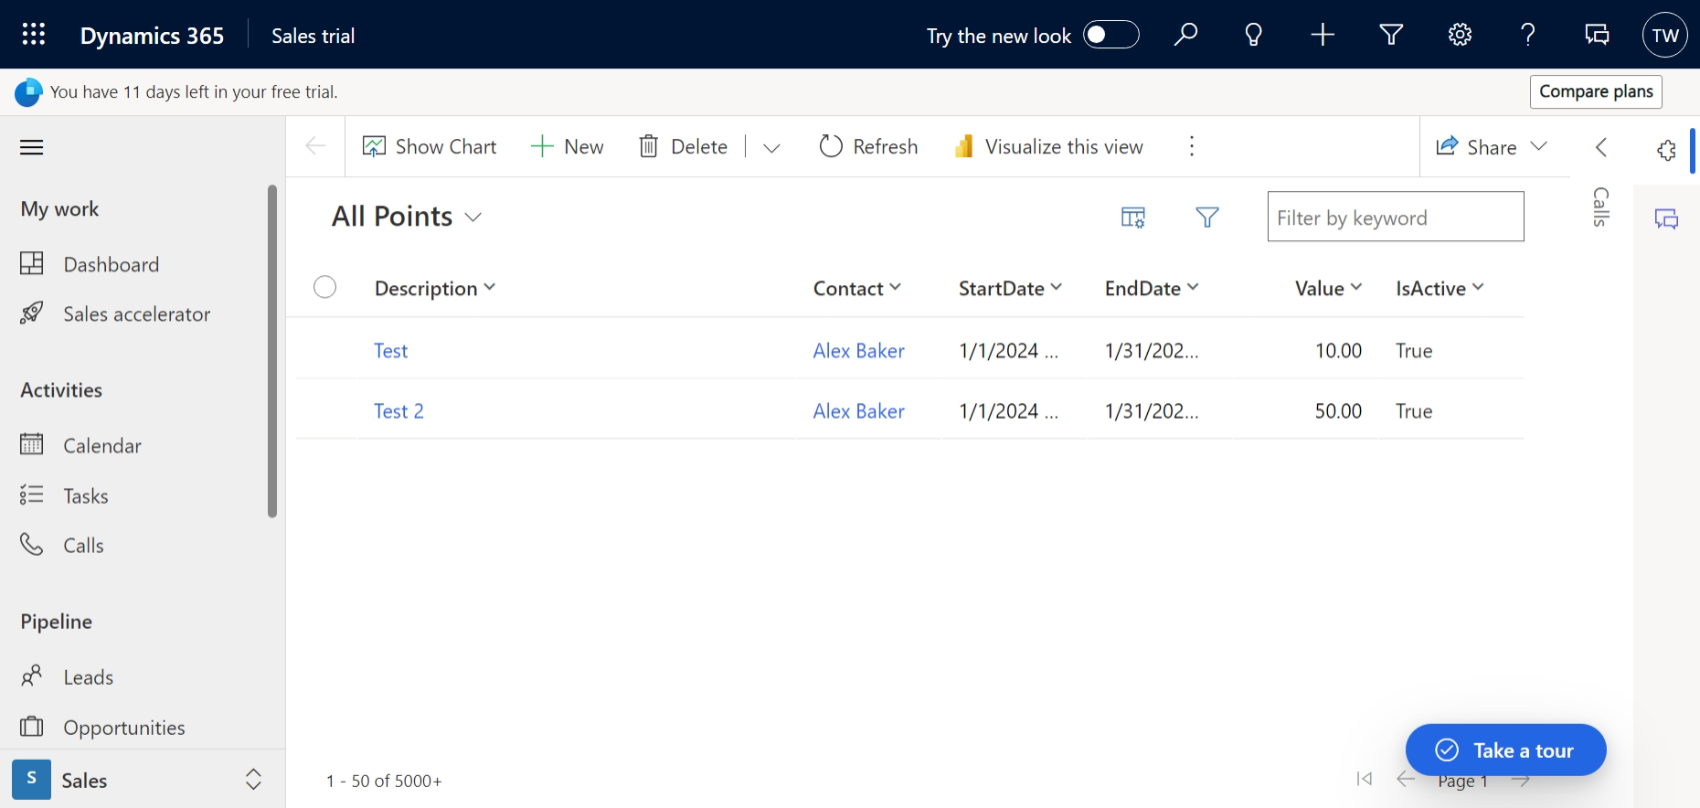
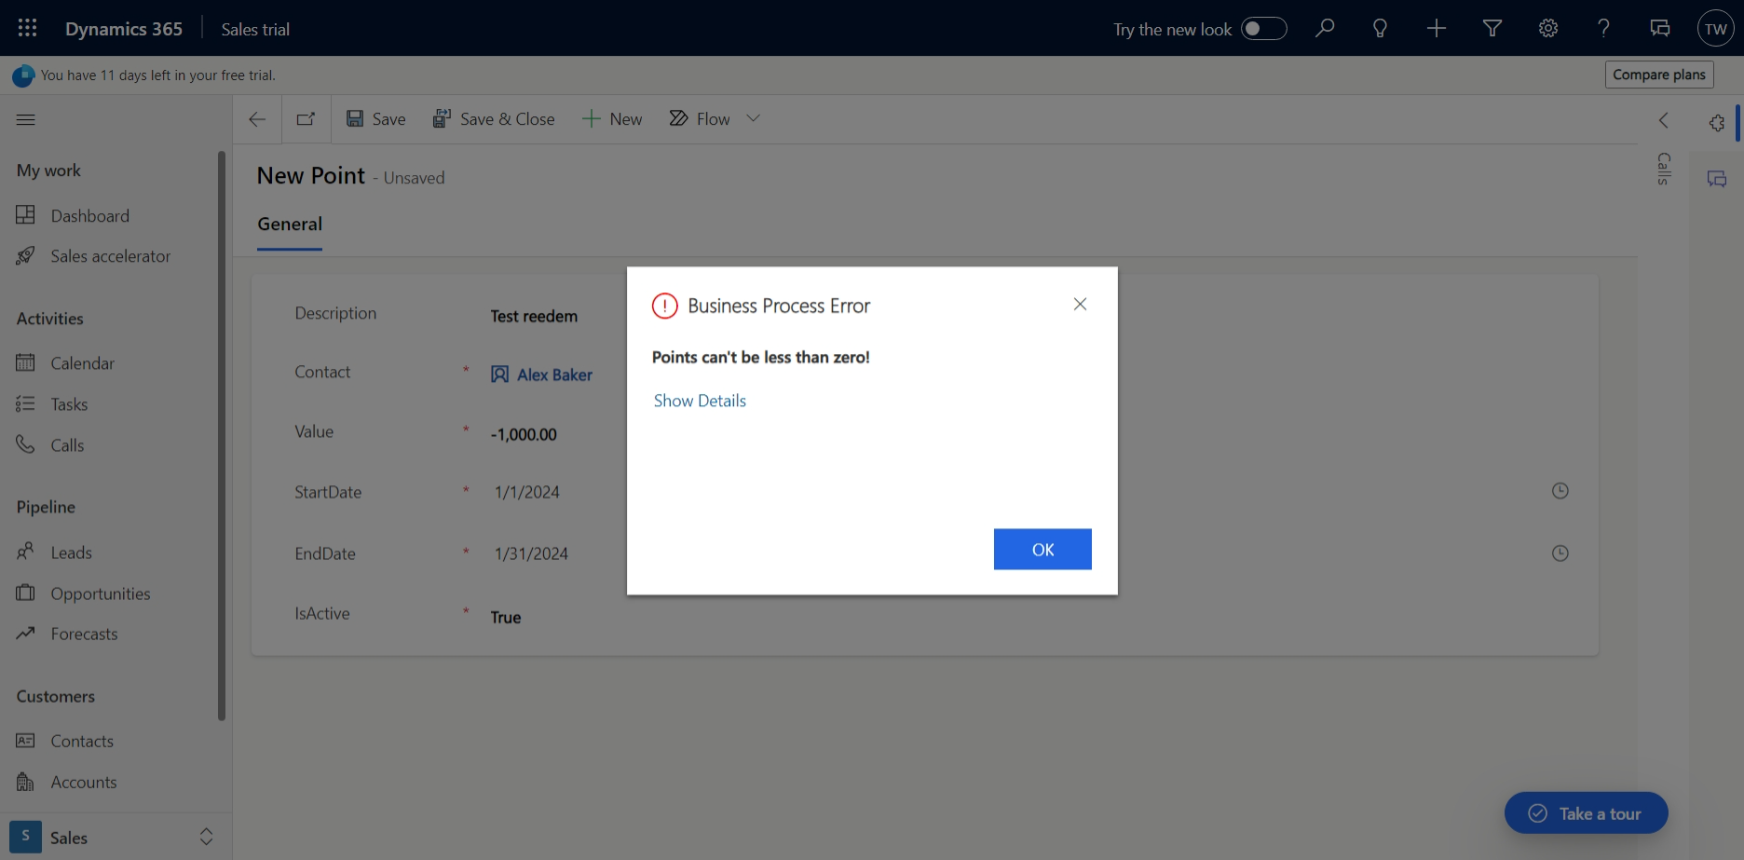
And, before I forget, here is my testing on the plugin as well:
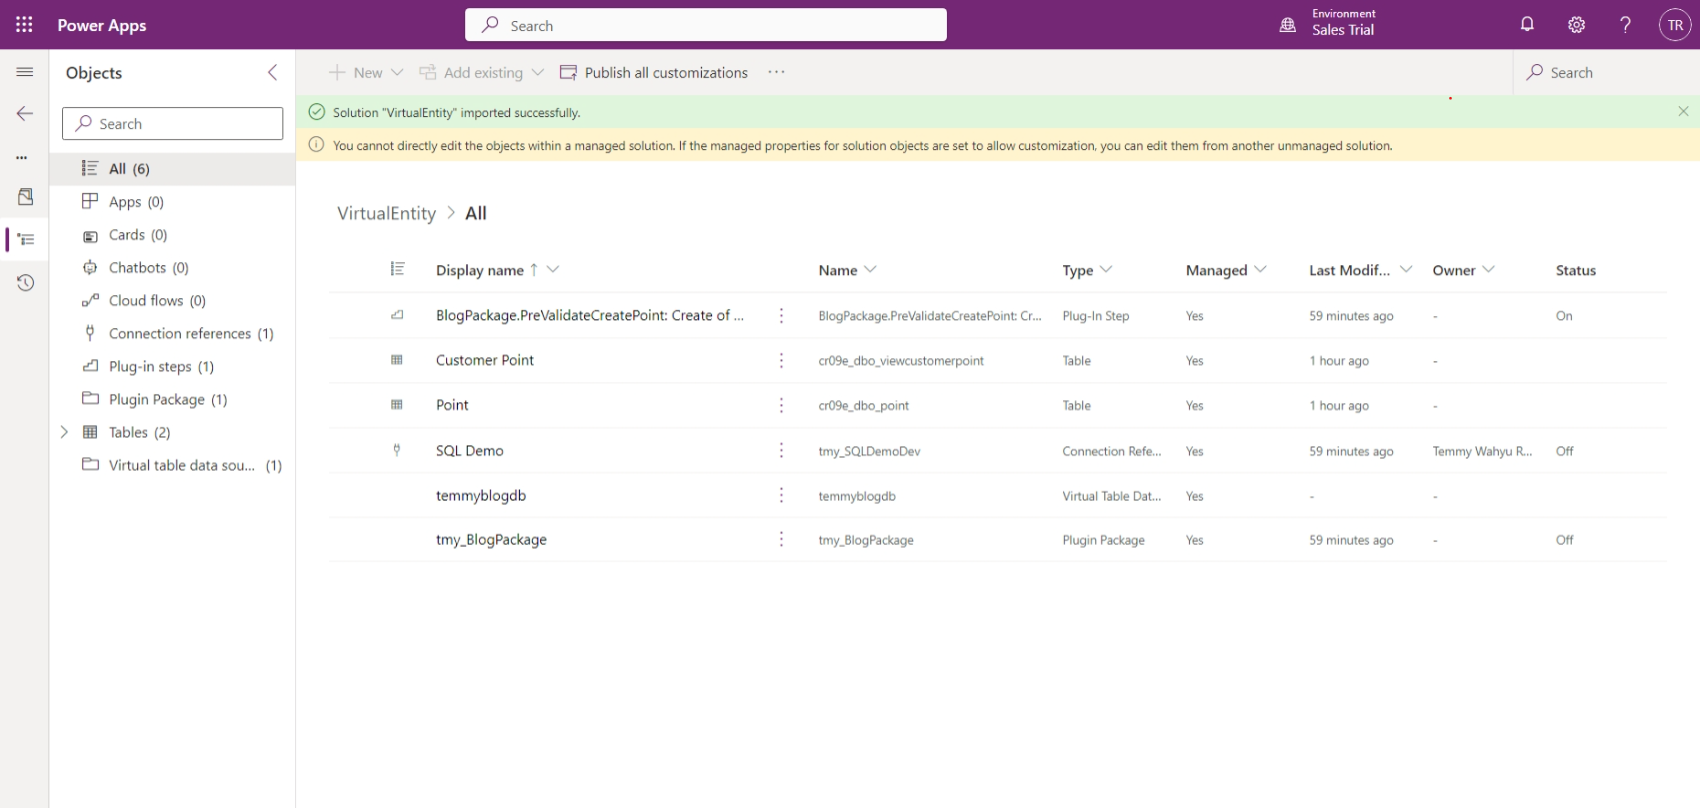
Summary
For the summary, here is the screenshot of the components that are needed (you can skip the plugin assembly and plugin step):
Happy CRM-ing!
Leave a comment
Your comment is sent privately to the author and isn't published on the site.